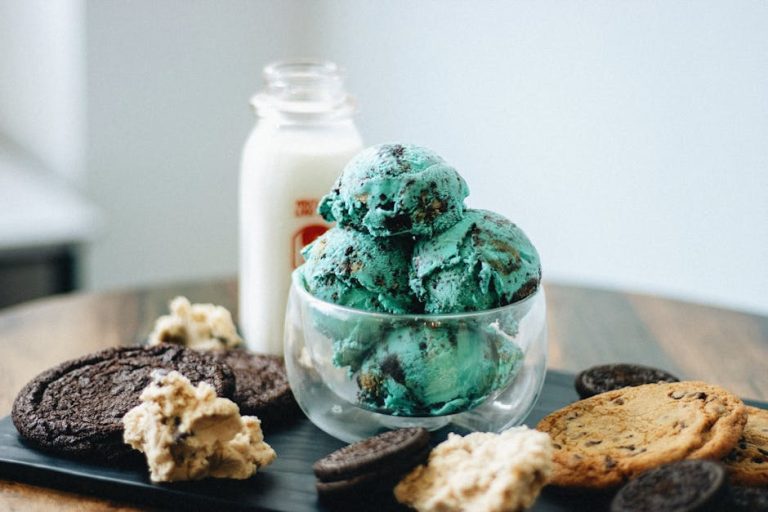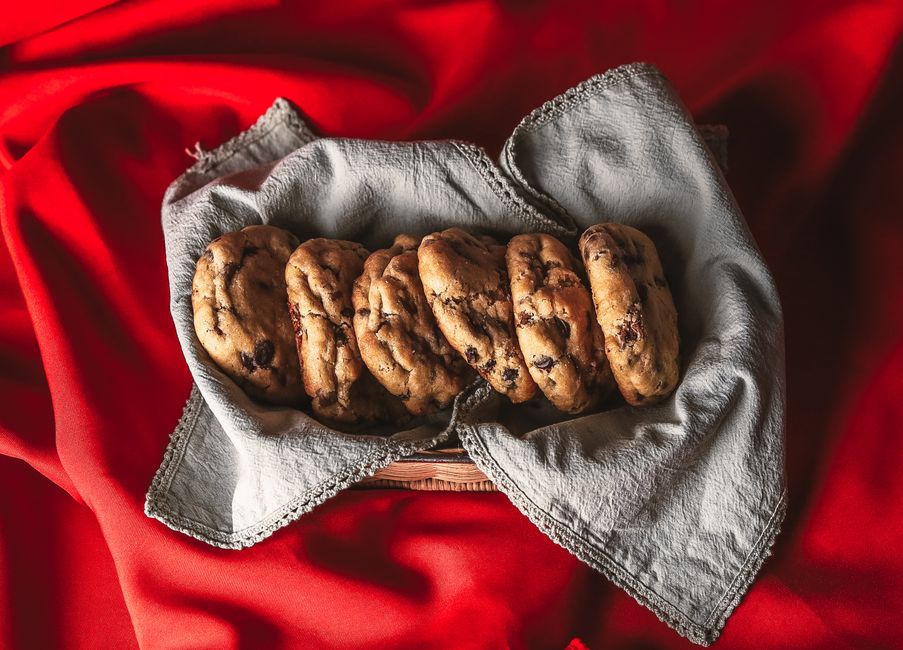
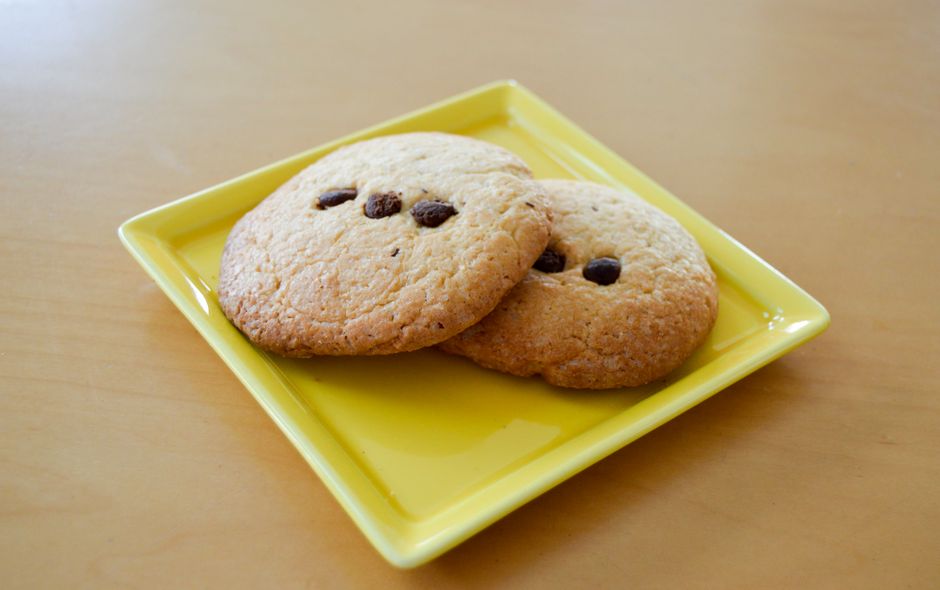
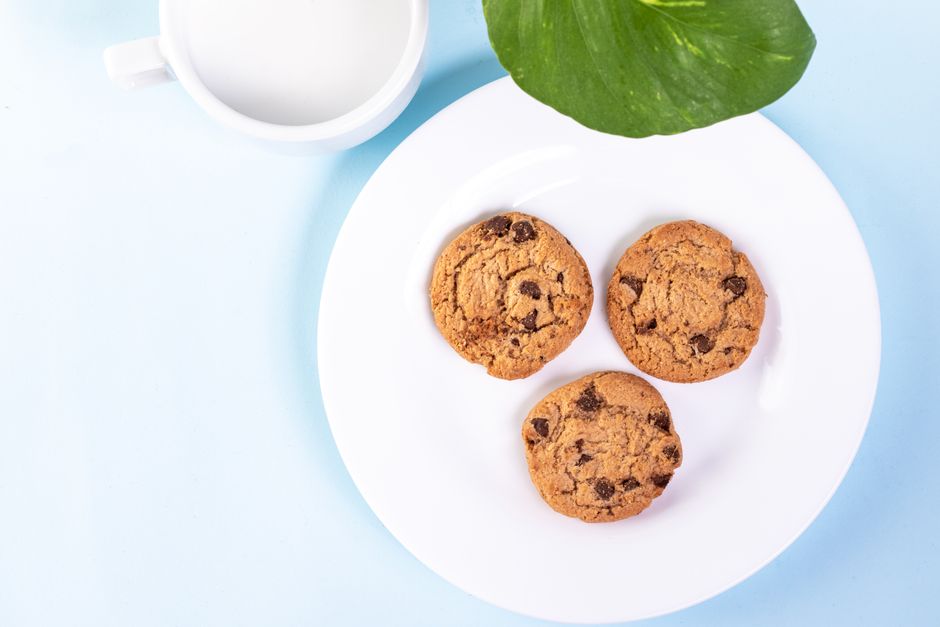
How to make perfect chocolate chip cookies
Perfect Chocolate Chip Cookie Recipe Tip Chill Rest: The Ultimate Guide to Bakery-Quality Results
The secret to achieving perfect chocolate chip cookie recipe tip chill rest starts long before your cookies hit the oven. For years, home bakers have struggled to recreate the soft, chewy, and perfectly golden cookies they find at professional bakeries, never realizing that the magic happens during the resting phase. The practice of chilling and resting your dough is not just a suggestion—it’s a transformative technique that separates mediocre cookies from extraordinary ones. This comprehensive guide will walk you through every step of the perfect chocolate chip cookie recipe tip chill rest process, revealing the science behind why this method works and providing you with professional tips to ensure consistent success every single time.
Table of Contents
- Why Perfect Chocolate Chip Cookie Recipe Tip Chill Rest Matters
- Step-by-Step Perfect Chocolate Chip Cookie Recipe Tip Chill Rest Guide
- Best Perfect Chocolate Chip Cookie Recipe Tip Chill Rest Options
- Pro Tips for Perfect Chocolate Chip Cookie Recipe Tip Chill Rest
- Common Mistakes to Avoid
- Key Takeaways
- Frequently Asked Questions about Perfect Chocolate Chip Cookie Recipe Tip Chill Rest
- Conclusion
Why Perfect Chocolate Chip Cookie Recipe Tip Chill Rest Matters
Understanding the importance of the perfect chocolate chip cookie recipe tip chill rest method requires diving into the science of baking. When you mix butter and sugar together, you’re creating air pockets that help your cookies rise during baking. However, if you bake your dough immediately after mixing, the butter is still warm and soft, causing it to spread too quickly in the oven before the flour and eggs have a chance to set the structure.
Chilling your dough allows several crucial chemical reactions to occur. First, the butter solidifies, which prevents excessive spreading and helps your cookies maintain their shape while developing crispy edges and a chewy center. Second, the flour fully hydrates, meaning it absorbs the moisture from the eggs and butter, creating a more developed gluten network that provides better texture and structure. Third, the flavors intensify and meld together, resulting in a more complex, deeper chocolate and vanilla taste that distinguishes professional-quality cookies from amateur attempts.
Professional bakers have known about the perfect chocolate chip cookie recipe tip chill rest technique for decades, and now you’re learning their secret. When you rest your dough for at least two hours—or ideally overnight—the sugars have more time to dissolve into the butter, creating a more uniform and stable dough. This extended resting period also allows the brown sugar to caramelize slightly, adding notes of toffee and molasses that make your cookies taste richer and more authentic.
The rest period also reduces the need for excessive spreading. Many home bakers unknowingly create thin, crispy cookies because their dough spreads too much during baking. By properly chilling the dough, you control the spread, resulting in thicker, chewier cookies that stay fresher longer. Additionally, chilled dough is easier to scoop and portion, giving you more uniform cookies with consistent baking times.

Step-by-Step Perfect Chocolate Chip Cookie Recipe Tip Chill Rest Guide
Ingredient Preparation and Mixing
Begin by gathering all your ingredients at room temperature, which is crucial for proper mixing and emulsification. You’ll need two and one-quarter cups of all-purpose flour, one teaspoon of baking soda, one teaspoon of sea salt, one cup of unsalted butter (softened), three-quarters cup of granulated sugar, three-quarters cup of packed brown sugar, two large eggs, two teaspoons of vanilla extract, and two cups of semi-sweet chocolate chips.
Start by creaming together the softened butter and both sugars in a large mixing bowl until the mixture is light, fluffy, and pale yellow—this should take about three to four minutes using an electric mixer. This creaming process incorporates air into the dough and helps dissolve the sugars, which is essential for the perfect chocolate chip cookie recipe tip chill rest method to work effectively. The texture should resemble wet sand or a thick paste when finished.
Add the eggs one at a time to the butter mixture, beating well after each addition. Pour in the vanilla extract and mix until fully combined. The mixture may look slightly curdled, but this is normal and will resolve during the final mixing stages.
Dry Ingredients and Chocolate Integration
In a separate bowl, whisk together the flour, baking soda, and salt. This step is essential because it distributes the leavening agent evenly throughout the flour, ensuring uniform rise and texture. Gently fold the dry ingredients into the wet ingredients using a spatula or wooden spoon, stirring until just combined—be careful not to overmix, as this can develop too much gluten and result in tough cookies.
Once the flour is incorporated, fold in the chocolate chips carefully. At this stage, your dough is ready for the crucial chilling phase that makes this the perfect chocolate chip cookie recipe tip chill rest approach. Don’t skip this step, as temptation to bake immediately is where most home bakers go wrong.
The Critical Chilling and Resting Phase
Transfer your dough to a bowl and cover it with plastic wrap or place it in an airtight container. Place it in the refrigerator for a minimum of two hours, though overnight chilling (twelve to twenty-four hours) produces the best results. This extended resting period allows all the components to fully hydrate and the flavors to mature and develop complexity.
If you’re in a hurry, you can chill the dough for just two hours and still achieve good results, but the flavor profile won’t be quite as rich. During this resting time, the butter solidifies, the flour fully absorbs moisture, and the brown sugar begins its caramelization process. When you remove the dough from the refrigerator, it should be firm enough that you can scoop it without the dough spreading immediately.
Baking for Perfect Results
Preheat your oven to three hundred fifty degrees Fahrenheit about fifteen minutes before you plan to bake. Line your baking sheets with parchment paper to ensure even browning and easy removal. Using a one-and-a-half-inch cookie scoop, portion the chilled dough onto your baking sheets, spacing them about two inches apart.
Bake for ten to twelve minutes, depending on your oven’s temperament and how thick you’ve scooped the dough. The cookies should be golden brown around the edges but still slightly underdone in the center—they’ll continue cooking on the hot baking sheet after you remove them from the oven. This technique ensures that perfect chewy center with crispy edges that everyone desires.
Allow the cookies to cool on the baking sheet for five minutes before transferring them to a wire cooling rack. This brief resting period helps set the structure while maintaining the chewy texture. Your perfect chocolate chip cookie recipe tip chill rest cookies are now ready to serve or store!

Best Perfect Chocolate Chip Cookie Recipe Tip Chill Rest Options
Premium Chocolate Chip Selection
The quality of your chocolate chips dramatically impacts the final result of your perfect chocolate chip cookie recipe tip chill rest cookies. Premium chocolate chips contain more cocoa butter and less vegetable oil than standard chips, resulting in better melting and a more authentic chocolate flavor. Brands like Ghirardelli, Lindt, and Callebaut offer semi-sweet and dark chocolate options that elevate your cookies from good to extraordinary.
Consider experimenting with different chocolate varieties: semi-sweet chips provide classic chocolate flavor, dark chocolate chips add sophistication and intensity, and milk chocolate chips create a sweeter, creamier taste. Many professional bakers use a combination of two different chocolate varieties to achieve complexity and depth.
Equipment Recommendations for Optimal Results
Investing in quality baking equipment ensures consistent results with your perfect chocolate chip cookie recipe tip chill rest technique. A reliable oven thermometer is essential, as most home ovens have temperature fluctuations that can affect baking times and outcomes. An instant-read thermometer helps you gauge the internal temperature of cookies for perfect doneness.
A cookie scoop is invaluable for portion control, ensuring that all your cookies bake at the same rate and achieve uniform appearance. Look for a scoop with a spring-release mechanism, which makes portioning quick and easy.
Butter Quality and Variations
The butter you choose significantly impacts flavor and texture. Always use unsalted butter so you can control the salt content of your cookies. European-style butter with higher butterfat content produces richer, more luxurious cookies, though standard American butter works perfectly fine.
Some bakers brown their butter before using it in the perfect chocolate chip cookie recipe tip chill rest method, adding nutty, caramelized notes. To brown butter, melt it in a saucepan over medium heat and cook for five to seven minutes, stirring occasionally, until it turns golden and releases a nutty aroma. Cool it completely before using in your recipe.
Flour and Leavening Agent Considerations
The type of flour you use affects texture significantly. All-purpose flour provides the most reliable results for classic chocolate chip cookies. Some bakers prefer bread flour, which has higher protein content and results in chewier cookies, while cake flour produces softer, cakier textures.
Your leavening agent deserves attention too. Baking soda reacts immediately with acidic ingredients like brown sugar, creating lift during baking. Make sure your baking soda is fresh—test it by adding a pinch to white vinegar; it should fizz vigorously. Old baking soda won’t provide adequate rise, negatively impacting your perfect chocolate chip cookie recipe tip chill rest results.

Pro Tips for Perfect Chocolate Chip Cookie Recipe Tip Chill Rest
The first pro tip is to weigh your ingredients whenever possible instead of measuring by volume. A cup of flour can vary by up to thirty percent in weight depending on how it’s packed, leading to inconsistent results. A kitchen scale ensures precision and reproducibility every single time you bake.
Consider extending your chilling time beyond the minimum recommendation. Many professional bakers prefer chilling dough for twenty-four to forty-eight hours, as this extended time produces cookies with more developed flavor and better texture. If you’re chilling for more than twelve hours, cover your dough well to prevent it from absorbing refrigerator odors or drying out.
Add a pinch of cinnamon or nutmeg to your dry ingredients for subtle warmth and complexity that enhances the chocolate flavor without being identifiable as spice. Some bakers add a quarter teaspoon of instant espresso powder to intensify the chocolate notes without adding coffee flavor.
The perfect chocolate chip cookie recipe tip chill rest method also works beautifully when you portion the dough, freeze individual portions, and bake directly from frozen. Add an extra one to two minutes to your baking time, and you’ll have fresh-baked cookies whenever you want them without the wait for chilling.
Temperature control is crucial for success. If your kitchen is very warm, chill your mixing bowl and beaters before beginning, or chill the dough in shorter increments if you’re removing portions for baking. The dough should always feel firm but not rock-hard when you scoop it.
Common Mistakes to Avoid
One of the most common mistakes is using melted butter instead of softened butter. Melted butter produces denser, flatter cookies because it doesn’t incorporate air during mixing. Softened butter should be at approximately sixty-five to seventy degrees Fahrenheit, soft enough to leave a slight indentation when pressed but still holding its shape.
Overmixing the dough after adding flour is another frequent error that toughens your cookies. Once you add the flour, mix only until you see no dry streaks—about twenty to thirty seconds with a spatula or wooden spoon. Your dough should look slightly shaggy, not smooth and uniform.
Many bakers neglect the crucial chilling step entirely, producing cookies that spread excessively and bake too quickly. Skipping the perfect chocolate chip cookie recipe tip chill rest process results in thin, crispy cookies that lack the chewy texture that makes chocolate chip cookies irresistible.
Baking at too high a temperature causes the edges to brown too quickly while the centers remain underdone. Always preheat your oven and verify the temperature with a separate thermometer. Similarly, baking too long produces overly crispy cookies that lose their appeal.
Using cold eggs straight from the refrigerator makes it harder to properly emulsify them with the butter and sugar. Allow your eggs to sit at room temperature for thirty minutes before using them, ensuring better mixing and texture development.
Key Takeaways
-
Chilling and resting dough is essential for achieving perfect chocolate chip cookies with ideal texture, flavor development, and controlled spreading during baking.
-
Minimum two-hour chill time is required, but overnight chilling produces superior results with more complex flavors and better texture that distinguishes professional-quality cookies.
-
Ingredient quality matters significantly, from premium chocolate chips and European butter to freshly tested baking soda and properly measured flour.
-
Temperature control throughout the process ensures consistent results, from softened butter during mixing to proper oven temperature during baking.
-
Resist the urge to bake immediately after mixing; the waiting period is when the magic happens and your cookies develop their signature characteristics.
Frequently Asked Questions about Perfect Chocolate Chip Cookie Recipe Tip Chill Rest
Q: What is the best perfect chocolate chip cookie recipe tip chill rest method for beginners?
A: Start with a minimum two-hour chill time in your refrigerator after mixing the dough. This gives you excellent results without requiring overnight preparation. Use room-temperature ingredients, cream your butter and sugar thoroughly until fluffy, and fold in flour gently. Don’t skip the chilling step, as this is where the transformation happens. Once chilled, scoop and bake at three hundred fifty degrees for ten to twelve minutes until the edges are golden but the centers still look slightly underdone.
Q: How long can I store dough using the perfect chocolate chip cookie recipe tip chill rest technique?
A: Your dough can be refrigerated for up to four days when properly covered in an airtight container. For longer storage, freeze portions in freezer bags for up to three months. When ready to bake, thaw in the refrigerator for several hours or bake directly from frozen, adding one to two minutes to your baking time. The flavors actually improve slightly with extended storage as the ingredients continue to meld.
Q: Can I speed up the perfect chocolate chip cookie recipe tip chill rest process by using the freezer?
A: Yes, you can freeze dough for thirty minutes to one hour as a quick-chill alternative, though this produces less impressive results than refrigerator chilling. For best flavor and texture development, refrigerate for at least two hours. If you’re extremely short on time, even thirty minutes of chilling provides better results than baking immediately, though the flavor complexity won’t be as developed.
Q: Should I use salted or unsalted butter in my perfect chocolate chip cookie recipe tip chill rest cookies?
A: Always use unsalted butter so you can control the exact salt content in your recipe. This allows for precise seasoning and prevents your cookies from becoming overly salty if the butter brand you purchase is already salted. The one teaspoon of salt in the dry ingredients provides the perfect amount of seasoning when combined with unsalted butter.
Q: Why do my perfect chocolate chip cookie recipe tip chill rest cookies spread too much even after chilling?
A: Excessive spreading usually indicates that your oven temperature is too low, preventing the structure from setting before the butter melts. Verify your oven temperature with a separate thermometer. Additionally, ensure you’re fully chilling your dough for the recommended time, and avoid over-beating the butter and sugar, which incorporates too much air. Finally, don’t use melted butter—use softened butter instead, as melted butter produces flatter cookies.
Conclusion
Mastering the perfect chocolate chip cookie recipe tip chill rest technique transforms your baking from casual home cooking into a deliberate craft that produces consistently extraordinary results. The science-backed approach of chilling and resting your dough isn’t just a step to skip; it’s the foundation that separates bakery-quality cookies from mediocre attempts. By following this comprehensive guide and implementing the pro tips we’ve discussed, you’ll achieve cookies with perfectly balanced texture, complex flavor development, and professional appearance that will impress family and friends. Don’t be discouraged if your first batch isn’t perfect—baking is as much about learning your specific oven and preferences as it is about following recipes. Start your perfect chocolate chip cookie journey today, and prepare for compliments that rival even the best professional bakeries!
Recommended Products on Amazon
As an Amazon Associate I earn from qualifying purchases.